Kiosk Mode on Quest 2 Using EZ360
Do you want an immersive VR viewing experience for your tradeshow booth, museum exhibition, or other event? ? Then kiosk mode is for you!
Some VR headsets like the Pico line make it very easy to set up a kiosk experience. You can do this on a Quest 2 as well – it just takes a few more steps.
What is Kiosk Mode?
It is lock down mechanism that enables IT admins to run a single app or a pre-defined set of apps on a device, allowing it to function as a kiosk.
Why would I want to utilize a kiosk mode?
Kiosk mode is traditionally used in applications where you would not want the user to have access to everything on the device to either provide a better experience or for security reasons.
Is kiosk mode a feature that the Quest 2 has?
Unfortunately, no it is not. The ability to use an Android device in Kiosk mode is a standard feature of the operating system. However, when developing the Quest 2, Meta made the decision to block this feature. At one point, they did allow it through “Oculus for Business” headsets through the management tool suite. For a period of time after discontinuing the Oculus for Business meta did not have a kiosk mode solution. As of summer 2023 meta has released a beta version of Meta Quest for Business to address kiosk mode and other device management options.
Is there a work around to get the kiosk mode on a Quest 2 headset to work and use EZ360 to display my content?
Yes, you have three options:
Option 1:
Our new favorite way to manage Meta Quest 2 headsets is Meta Quest for Business. This is a device management tool from Meta directly that will allow for headset management and kiosk mode. It is free while it is in beta. The only two current drawbacks are that it is only available for users in the United States (or with the location set in your meta profile as in the United States) and the fact it is beta software that we have no clue what the cost will be of the final version. Our recommendation is to use this for now and reevaluate once the final paid version is launched.
Option 2:
You can use a 3rd party application that will allow for Kiosk mode. This can be hit or miss as the software must be side loaded and is not approved by Meta. You would then load or allow EZ360 through the application. If you need help with this please reach out to our support team at: info@ez-360.com.
Option 3:
If your headset is in an environment where you can leave it plugged in for a majority of the time (like a museum installation, tradeshow etc), you can set it remain on for an extended period of time. Then you just leave the EZ360 Application open and that is it! The steps to keep your headset from falling asleep are below.
Please note: If your users are using the headset in an unattended environment, you will most likely want to trigger the video or app with gaze, not the controllers. The reason being is you will be able to use the Oculus button to leave EZ360 and the kiosk experience. If your application requires the use of the hand controller and not gaze or gesture control, you need to be aware that someone could hit the Oculus button and leave the kiosk experience
Step 1:
Download and install Sidequest using the advanced installer. You can download Sidequest and see a detailed video on how to install it here. PRO TIP: If you are new to side loading apps into the Oculus, it is worthwhile to watch the full video for step-by-step instructions on how to make Sidequest work and communicate with your headset.
Step 2:
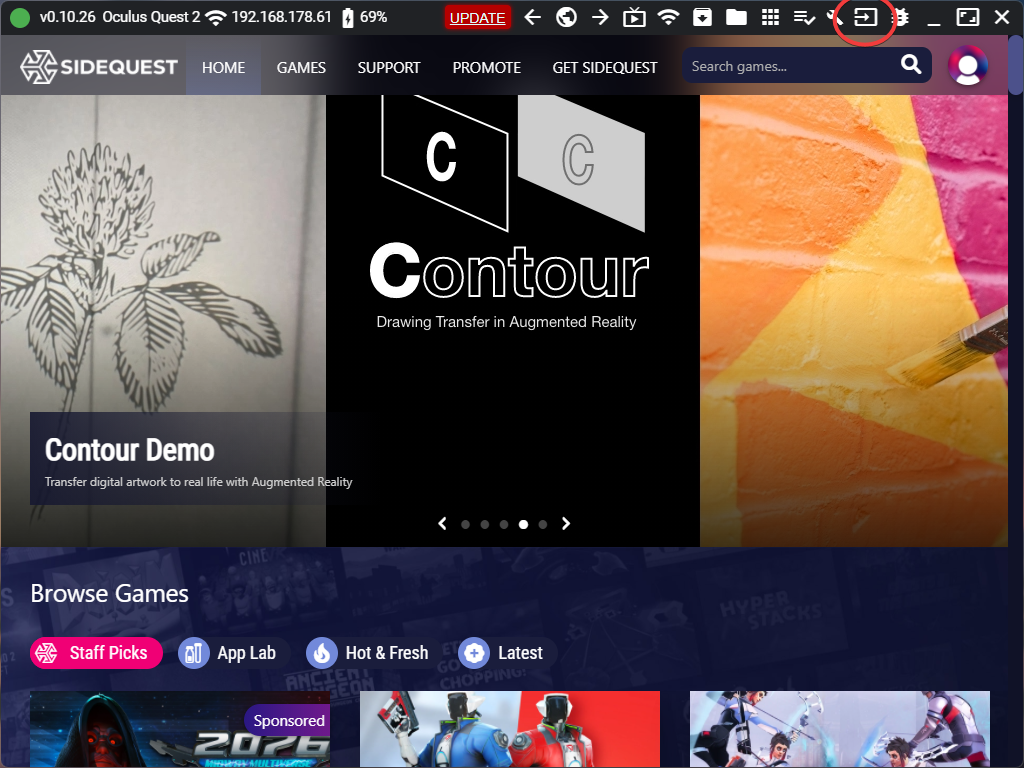
Plug in your headset and access the ADB in Sidequest by clicking the button shown below in the circle:
Step 3:
Select custom command
Step 4:
Make sure to click “Enable USB ADB” once and after it says “rebooting in USB mode” type in the following into the box and run it:
adb shell settings put system screen_off_timeout 7200000
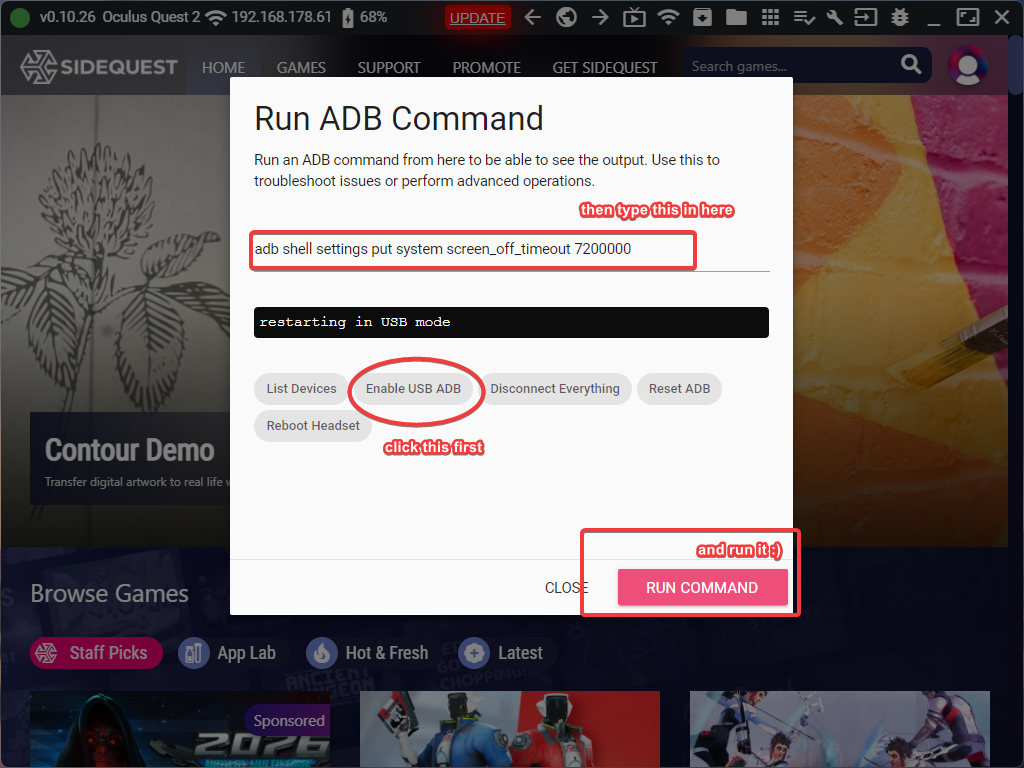
This will set your sleep timer to 200 years. You can undo that if you need to by just setting it to something else again inside the settings.
Step 5:
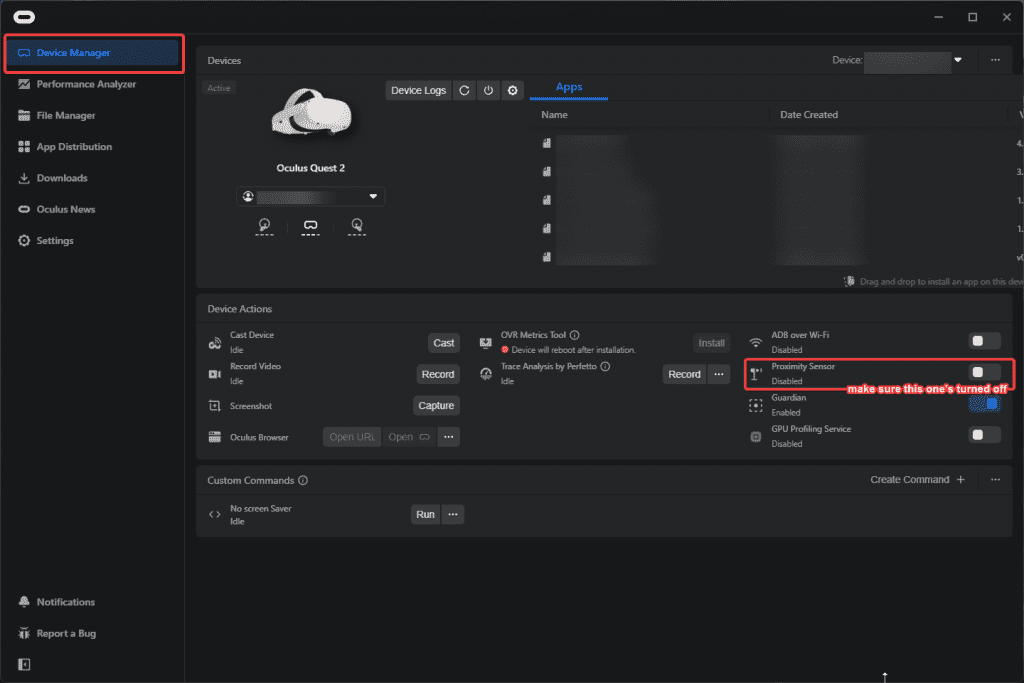
Disable the proximity sensor. For this you will need to download and install Oculus Developer Hub. You can find out how that all works and download the software here. You will login using the same Meta account you used to set up the developer account needed with Sidequest. Once the headset Is connected and in ODH proximity sensor needs to be turned off as is shown in the screenshot below:
Step 6:
You are all done with the set up now! You can load your content into your EZ360 account. In the account you will need to trigger the content to be activated by gaze.
Step 7:
Launch the EZ360 app on your headset and pair it to your EZ360 account.
That is it! The headset is set to never go to sleep and will be ready for your users to view your content in a kiosk mode style experience. Do you have questions on all of this? Reach out to our support team at: info@ez-360.com and we are happy to help to get you set up. We are also constantly working on workarounds for a Kiosk experience on the Quest 2 and this article will be updated as we develop more solutions for this use case.